Homestead Pickles
I did it! I found a recipe that gives you crunchy pickles. And the best part? They stay crunchy! This is a new USDA approved way of canning pickles called Low-Temperature Pasteurization Method (link yields more recipes) and I promise you’ll never look back!

Not only is this recipe really simple once you get it down but it delivers, every time. I’m excited to have shared it with you on Instagram! It will now be in a highlight! But you can always find and print the recipe here!
One thing I want to mention though, is that botulism will NOT grow in acidic canned goods. So if canning scares you because of the risk of botulism, these pickles would be a great start as there is no risk!

There are a few things to keep in mind when canning pickles:
1: Your blossom end on the cucumbers, yea… you’ll likely want to take that off. Its said there is an enzyme in there that causes mushy pickles, and I’m one that doesn’t want to risk it and end up with poor textured pickles, so.. OFF WITH THEIR HEADS!… er umm… I mean BLOSSOMS!
2: Would you like spice or dill? I’ve been throwing in about 1/2 tsp of red pepper flakes for a kick, you could also add a little chili pepper in the jar too but mine weren’t ready, but beware! they’ll be spicy!
3: The overnight brine is where you’ll soak the cucumbers for at LEAST 12 hours. But you can leave them in there up to 7 days.
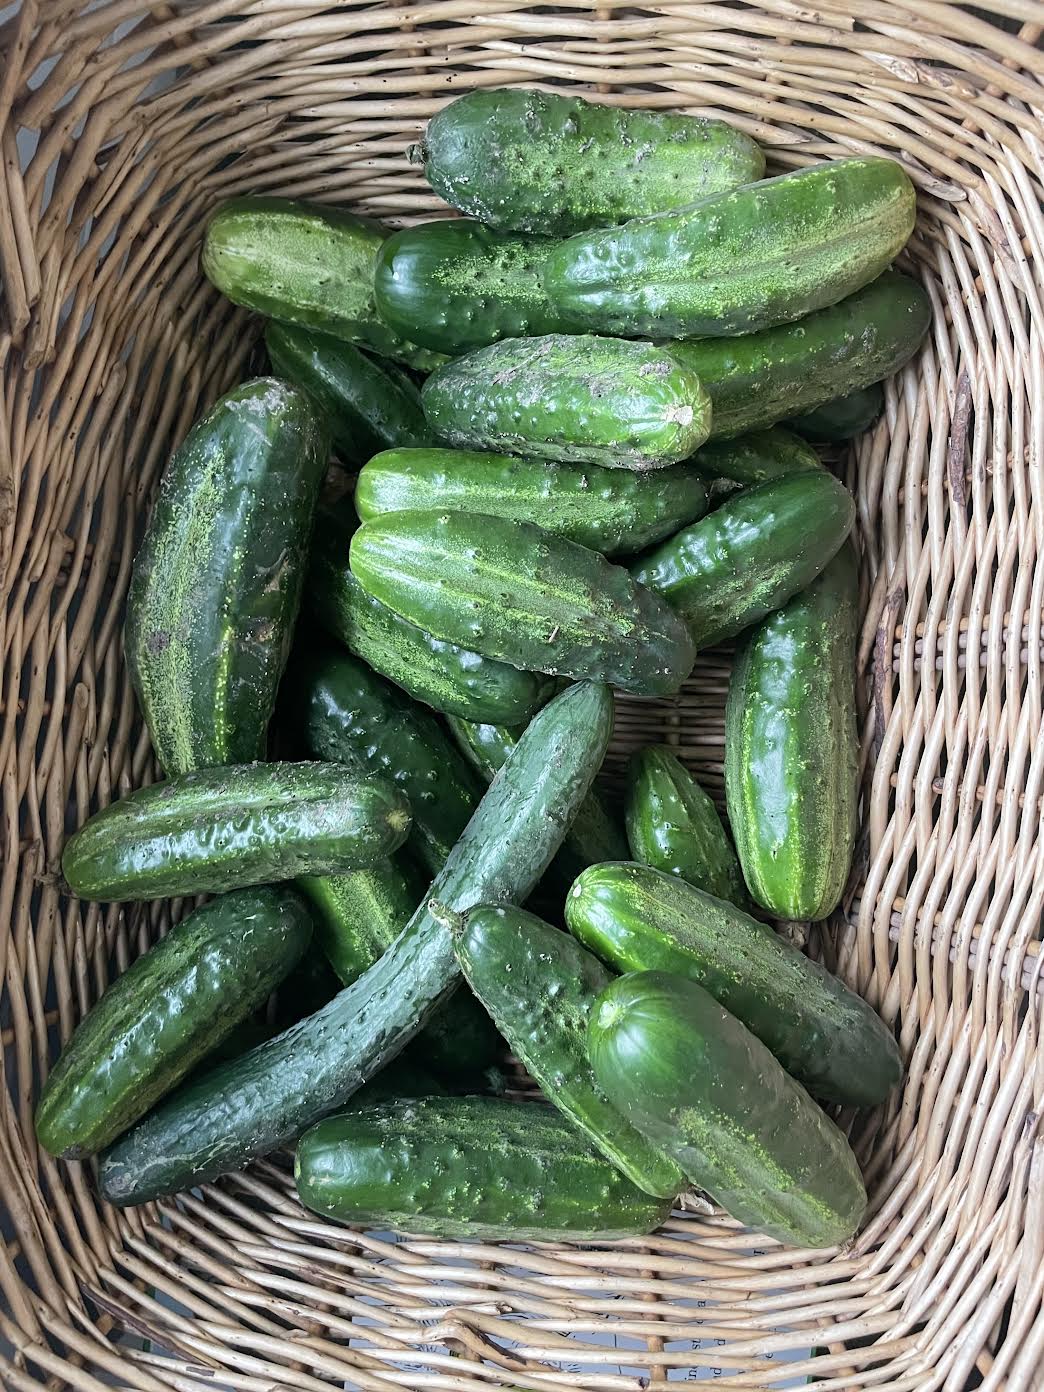
4: The type of cucumbers I’ve been using are specifically designed for pickling. The specific plant I used is called a Calypso cucumber. They are resistant to mildew and disease and I had a great turn around with this plant this year.
For supplies you’ll need a water bath and canning essentials. Wide mouth mason jars (I used pint and find wide mouth to be easier to get my pickles out of) Let's get to the recipe! If you have any questions let me know below! And if you try this recipe let me know!
